Almost every beginner hits the same handful of problems. Recognising them early saves a lot of frustration — and most of them have simple fixes.
Ignoring the centre pieces
Centres are fixed. If you try to move a white edge to a face whose centre is not white, the cube will fight you the whole way. Always orient yourself using the centres.
Build a habit: before every stage, glance at the centres and name the face you are working on. When you pick up a scrambled cube, spend five seconds finding the white centre and the four side centres around it. That quick orientation check prevents most centre mistakes, because you always know which colour belongs where before you move anything.
Solving one face instead of one layer
A face that looks solid white can still have side colours in the wrong place. The first stage is a complete layer, not a single coloured face.
To verify a layer, look at the side faces, not just the top. After the first layer, the bottom row of every side face should match its centre colour. If one side row is wrong, a corner is misplaced or twisted. Fix it now — a wrong first layer makes every later stage harder, and the error gets buried under new moves.
Turning the cube halfway through a sequence
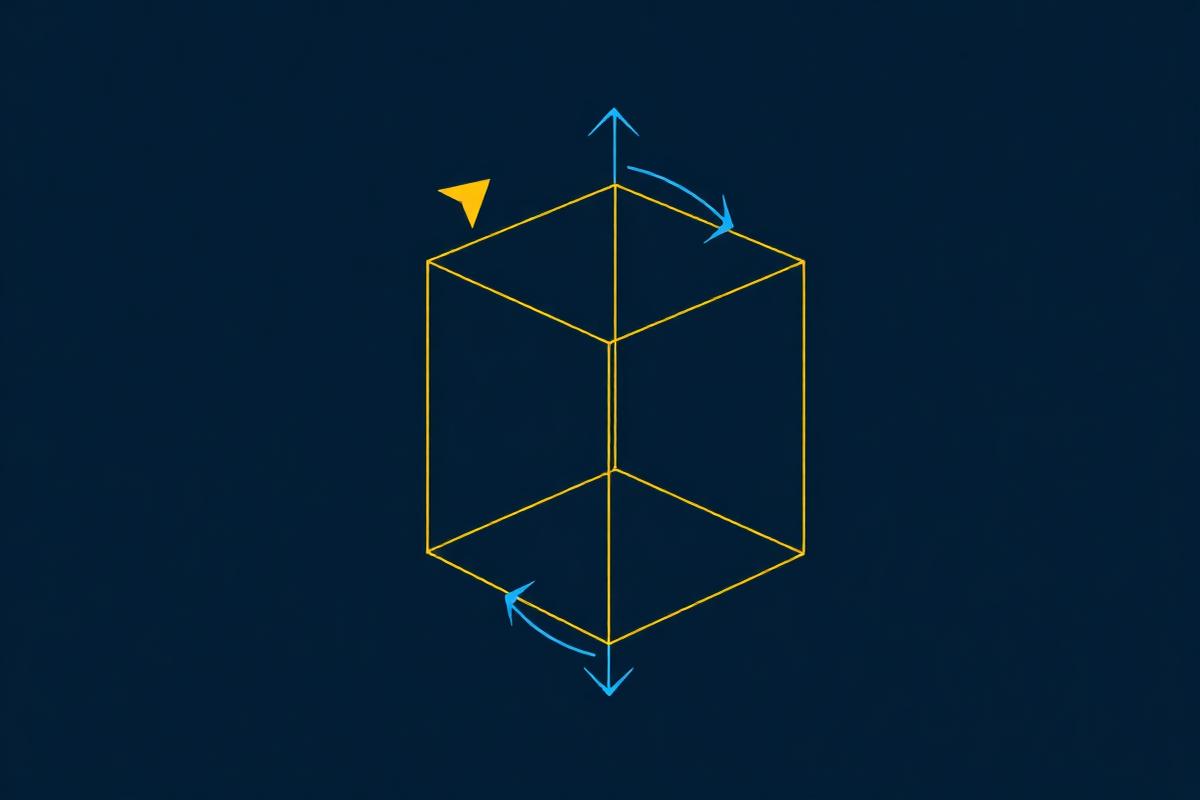
A sequence only works if the cube stays in the same orientation from its first move to its last. If you rotate the whole cube halfway through, the letters now refer to different faces, and the sequence produces a different result. This is the single most common reason a sequence 'does not work'. If you realise you turned the cube, stop, set it back to the original orientation, and restart the sequence from the beginning. Placing the cube on the table between sequences helps.
Rushing the algorithms
- Turning too fast and losing track of the sequence.
- Holding the cube in a different orientation halfway through.
- Skipping the setup move before an algorithm.
Turning fast is not the same as solving fast. When you rush, you skip moves, turn the wrong face, or lose count — and then spend far longer diagnosing the damage than the speed saved. Turn slowly enough to say each move in your head as you make it. Practise a new sequence on a solved cube first, so you can see what it is supposed to do before you trust it on a scrambled one.
Skipping the setup move
Most sequences assume a specific piece is in a specific spot before you start. The 'setup move' puts it there. Skipping the setup is like starting a recipe halfway through: the steps are right, but the result is wrong. The symptom is familiar — the sequence 'did not work' even though you followed it carefully. When that happens, check the setup: was the piece actually where the sequence expected it? Reset the setup and run the sequence again.
Reading the notation backwards
R and R' look almost identical on paper but turn the same face in opposite directions. Mixing them up is easy, especially when you are reading quickly. If a sequence keeps failing, slow down and watch a single face as you perform it: does that face actually turn the way you intended? Many beginners find it helps to point at the face and say 'clockwise' or 'counterclockwise' out loud for the first few practice runs.
Forcing a stiff cube
A cube should turn with light, even pressure. If a face resists, do not force it — a forced turn can pop a piece out or damage the mechanism. The usual cause is a misaligned layer: the face above or below is a few degrees off, so the pieces catch. Gently wiggle the neighbouring layer into alignment and try again. If your cube constantly catches, it may be a stiff novelty cube rather than a proper 3×3.
You can tell a turn is misaligned when the layer feels gritty or stops halfway. Instead of pushing through, back the move off slightly, align the layers by eye, and then complete the turn. This small pause prevents pops and keeps your sequences accurate.
Get unstuck with your exact cube
Scan your cube or enter its colours and follow step-by-step guidance from the position you are actually holding.
Misreading colours in bad light
Colour mistakes are often lighting mistakes. Under warm indoor light, white can look yellow and red can look orange. If you keep placing the wrong pieces, move to daylight or a bright neutral light and compare the stickers again. When entering colours into a solver app, double-check the detected colours against the physical cube before generating a solution — one misread colour changes the whole position.
Peeling stickers or taking the cube apart
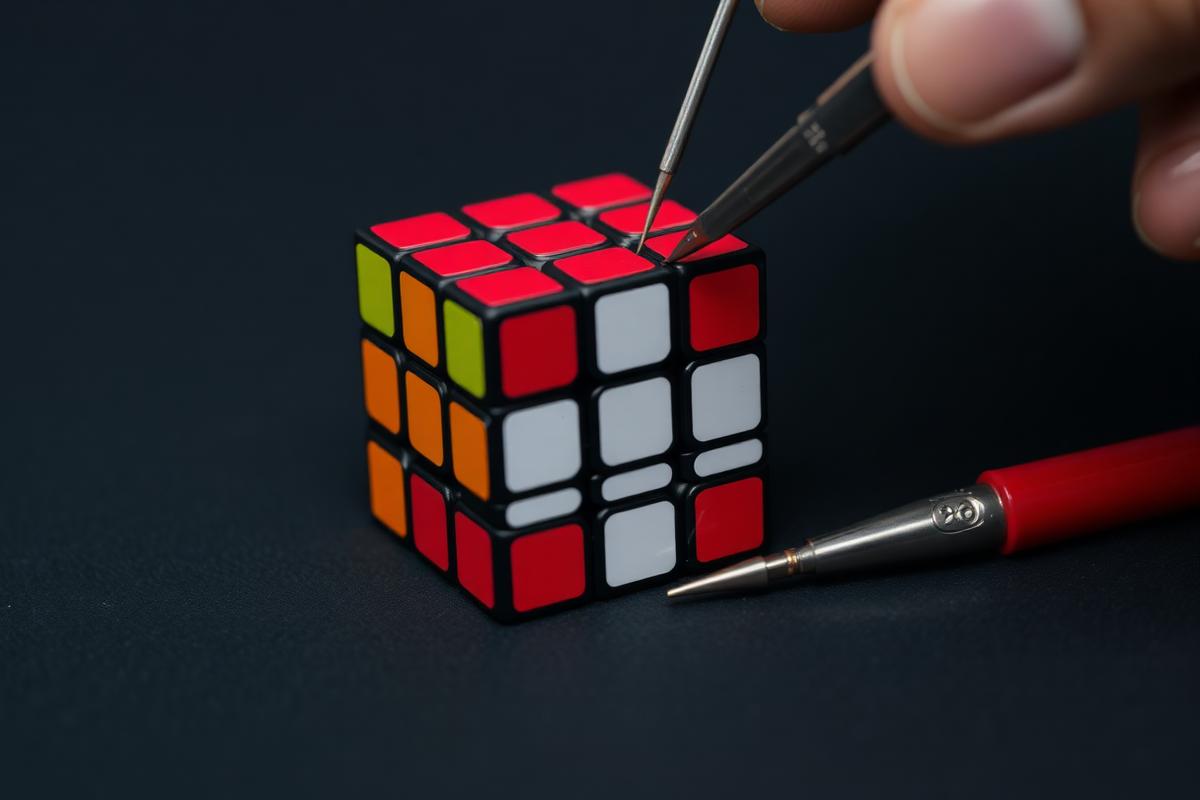
When a cube will not cooperate, peeling a sticker or pulling the cube apart feels like a shortcut. It is not. A peeled sticker leaves a face with the wrong colours, and reassembling a cube by hand usually produces an arrangement that cannot be solved by legal moves. If a position feels impossible, it almost always means a move was missed, not that the cube is broken. Re-check the stage, or use a solver to find the path from your actual position.
Scrambling, then giving up halfway
Scrambling mid-solve destroys the information you need. If you scramble because a stage went wrong, you lose the chance to find and fix the actual mistake. Instead, stop and diagnose: which layers are complete? Which stage were you on? Restart from that stage. A solver app can show the path forward from your exact position, which teaches you far more than a fresh scramble.
Giving up mid-solve
A scrambled-again cube teaches you nothing. If a stage breaks, re-read it slowly, or scan the cube into a solver and follow the suggested path from where you actually are.
Getting stuck halfway is the most common reason beginners quit. The fix is to shrink the problem: forget the whole cube and focus only on the next stage. If even that feels too much, let a solver app show you the next few moves. Following a valid path forward rebuilds momentum, and momentum is what carries you to the finish.
Comparing yourself to speedcubers
Watching speedcubers finish in seconds is inspiring, but comparing your first solves to their times is discouraging — and misleading. Speedcubers use advanced methods, practise daily, and have years of muscle memory. The beginner method is designed for learning, not for speed. Your goal is to finish a solve, not to match a stopwatch. Speed comes later, after the method feels automatic.
What speedcubers actually practise is not raw turning speed: it is recognising patterns quickly and planning the next moves while turning. Those skills grow from the same foundation you are building now — knowing the stages, reading the cube, and trusting the sequences.
Practising without a plan
Random full solves are a slow way to improve, because you repeat your strongest stages and stumble on the same weak one. Focused practice is faster: pick one stage, drill it several times in a row, then move on. Short sessions — ten to fifteen minutes — done regularly beat one long frustrated session. Keep a solved cube beside you to compare against.
A quick self-check before each stage
- Check the centres: which colour belongs on each face?
- Check your orientation: is the cube held the same way as when you started the sequence?
- Check the completed layers: are the side rows correct, not just the top face?
- Check the target piece: is it where the sequence expects it?
Run this check before every stage, not after something goes wrong. Thirty seconds of checking prevents most of the mistakes in this article.
Check your position with the app
Scan your cube or enter the colours manually and get step-by-step moves for the position you are holding.
Not learning notation before memorising sequences
Many beginners try to memorise sequences as hand movements without learning what the letters mean. That works until the first time they forget a move — then they have no way to reconstruct it. Notation is not extra work; it is the memory aid. When you know that R means a clockwise turn of the right face, you can re-read any sequence instead of relying on muscle memory alone. Spend one short session learning the six face letters, the prime symbol, and the number 2. That small investment makes every sequence you learn afterwards easier to remember, because you can check the written version whenever your hands forget.
A practical way to learn notation is to perform each move while saying its letter out loud. Turn the right face clockwise and say 'R'. Turn it back and say 'R prime'. After a few minutes, the letters start to feel like names for things your hands already know. From that point on, reading a sequence feels like reading instructions rather than decoding a puzzle.
Trying to memorise everything at once
The beginner method has several stages, and trying to learn all of them in one sitting is a recipe for confusion. Beginners who do this usually end up half-remembering two stages and mastering neither. A better approach is to learn one stage, practise it until it feels comfortable, and only then move to the next. The white cross alone is a complete practice goal for a first session. When the cross feels easy, add the corners. When the first layer feels easy, add the middle layer.
This staged approach also makes diagnosing mistakes much easier. If you only know one stage and something goes wrong, the error is in that stage. If you half-know five stages, an error could be anywhere, and finding it takes far longer than the time you saved by rushing.
Practising on the wrong cube
Not every cube is a good learning cube. Stiff novelty cubes, cubes with peeling stickers, and very small keychain cubes all make the method harder than it needs to be. A stiff cube forces you to use both hands for every turn, which makes it hard to learn finger movements. Peeling stickers create colour confusion: a half-peeled sticker can look like a different colour, so you place the wrong pieces. A tiny cube is hard to grip, so you spend more effort holding it than solving it.
You do not need an expensive speedcube. A standard, smooth-turning 3x3 is enough. It should turn with light finger pressure and not catch or lock up mid-turn. If your cube is very stiff, work it in gently with slow turns before your first real solve. A cube that turns smoothly lets you focus on the method instead of fighting the hardware.
Ignoring the last layer's two jobs
The last layer has two separate jobs: first orient the pieces (turn them so the top face shows the right colour), then permute them (swap them into the right positions). Beginners often try to do both at once, which leads to loops where the cube seems to cycle without ever finishing. The fix is to separate the jobs completely. Finish orienting all the last-layer pieces first, and do not worry about whether the sides look correct while you do it. Only when the top face is one solid colour should you start swapping pieces into place. Treating orientation and permutation as two distinct tasks turns the most confusing stage into two manageable ones.
Checking your work the right way
After each stage, check the whole cube, not just the face you were working on. Look at the side rows, the centres, and the pieces you placed two stages ago. A two-minute check after every stage catches errors while they are still easy to fix. The habit of checking is what separates a smooth solve from a frustrating one, because it turns mistakes into small corrections instead of full restarts.
Frequently asked questions
Here are the questions beginners ask most often when a solve goes wrong.