Solving a Rubik's Cube for the first time feels impossible — until you realise it is not one big puzzle but a sequence of small, repeatable stages. This guide walks through the beginner's layer-by-layer approach, the same structure a solver app follows when it hands you a move list. By the end, you will know what each stage is trying to achieve, how to practise it, and what to do when you get stuck.
Why the cube feels impossible — and why it is not
A standard 3×3 Rubik's Cube has more than 43 quintillion possible combinations. That number is the reason a scrambled cube looks hopeless: random turning will almost never stumble onto a solution. But the layer-by-layer method does not ask you to search through those combinations. It reduces the whole puzzle to five small jobs, each with a clear goal and a short set of moves. You solve one layer, then the next, and the cube gets simpler at every stage instead of more confusing.
That is the mindset to carry into your first solve. You are not trying to be clever. You are following a process: look at the cube, identify which stage you are on, and apply the moves for that stage. Speed comes much later. Your first goal is simply to finish one full solve, however slowly, without giving up halfway.
Before you start: how to hold the cube and read moves
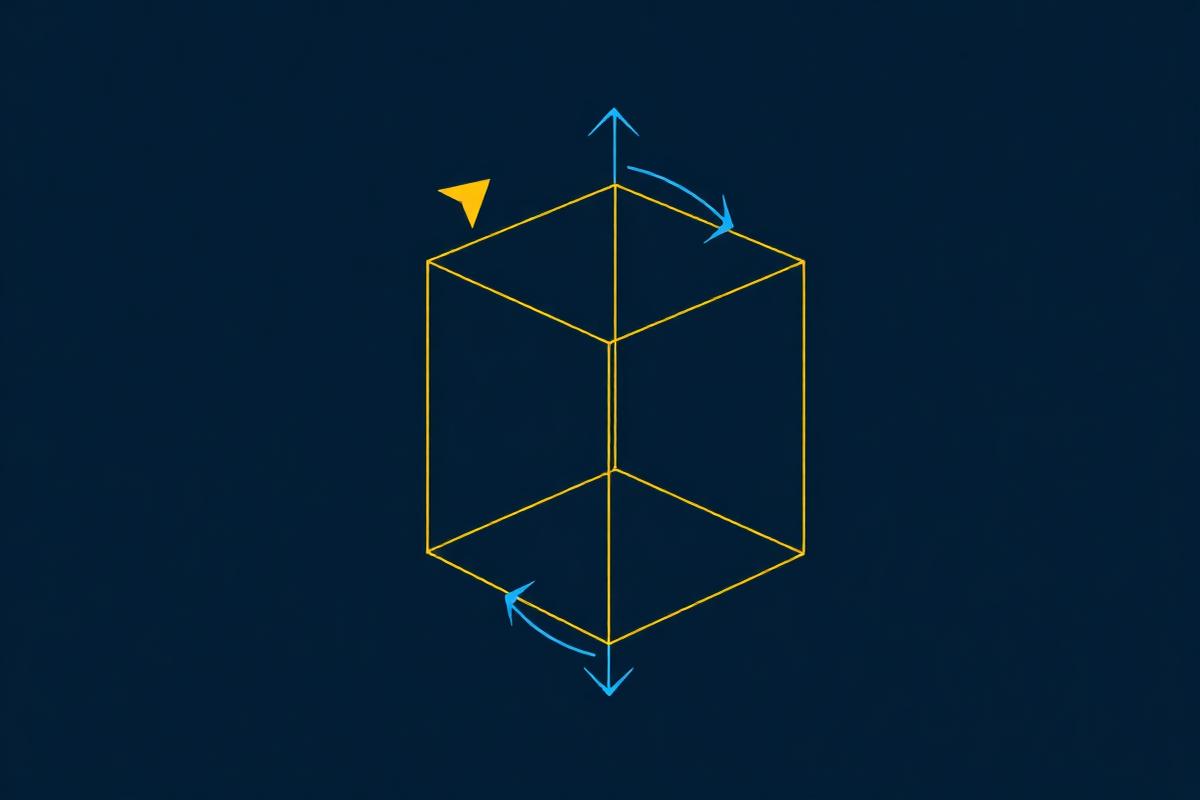
Hold the cube with one face toward you and one face on top. The face toward you is the front, and the face on top is the up face. Most beginner guides describe moves from this position, so try not to rotate the whole cube in your hands while you are learning a sequence. If you do turn the cube over, pause and set it back to the same orientation before continuing.
The six faces and basic notation
Every move is described using the first letter of a face: R for right, L for left, U for up, D for down, F for front, and B for back. A letter on its own means turn that face clockwise. A letter followed by an apostrophe, like R', means turn it counterclockwise. A letter followed by a 2, like U2, means turn the face twice. That is all you need to read the sequences in this guide.
- R, L, U, D, F, B — turn the named face one quarter-turn clockwise.
- R', L', U', D', F', B' — turn the named face one quarter-turn counterclockwise.
- R2, L2, U2, D2, F2, B2 — turn the named face twice (a half turn).
- Read sequences left to right, one move at a time.
Before your first real solve, practise reading notation on a solved cube. Pick a short sequence, perform it slowly, and watch what it does. Then reverse it and watch the cube return to solved. This builds the connection between the letters and the physical turns, so the sequences in this guide feel like instructions rather than code.
Understand the cube first
A standard 3×3 cube has centre pieces that never move relative to each other, edge pieces with two colours, and corner pieces with three. The centres define what colour each face must end up as, so they are your reference points throughout the solve.
The three piece types
- Centres — one per face, fixed, define the face colour.
- Edges — twelve pieces, two colours each.
- Corners — eight pieces, three colours each.
This is why the centres matter so much. On a solved cube, the white centre sits opposite the yellow centre, red sits opposite orange, and blue sits opposite green. Because the centres never move relative to each other, they tell you which colour belongs on each face no matter how scrambled the cube looks. Whenever you feel lost, look at the centres first: they are the fixed map of the puzzle.
The beginner method, stage by stage
The layer-by-layer method breaks the solve into stages you can learn one at a time. Do not try to memorise everything at once — get comfortable with each stage before moving to the next.
- Build the white cross on one face.
- Place the white corners to finish the first layer.
- Solve the middle layer edges.
- Make a yellow cross on the last face.
- Orient and permute the final layer pieces.
Stage 1: Build the white cross
Start by making a white cross on the white face. Each white edge piece must match the centre colour of the side it sits next to, not just the white centre. For example, the white-blue edge belongs between the white centre and the blue centre. This stage is mostly intuitive: move white edges into place one at a time, and take care not to disturb the ones you have already placed. Do not worry about the corners yet.
A useful habit is to build the cross on the bottom face and hold the cube so the white centre faces down. That way, the cross stays out of the way while you work on later stages, and you always know where the first layer lives.
Stage 2: Finish the first layer (white corners)
Next, place the four white corner pieces so the entire first layer is complete. Each corner has three colours, and it must sit between the three centres that match those colours. Find a white corner in the top layer, position it above the spot where it belongs, and use a short corner sequence to drop it into place. Repeat for the remaining three corners.
Check your work from the side, not just the top. A correct first layer means the bottom face is solid white and the bottom row of each side face matches its centre colour. If a side row looks wrong, the corner is in the wrong spot or twisted, and it is worth fixing now rather than carrying the error into the middle layer.
Stage 3: Solve the middle layer
With the first layer done, turn the cube over so the white face is on the bottom and the yellow centre is on top. Now you place the four middle-layer edges — the edges that have no yellow on them. Find one in the top layer, line it up with the centre colour of one of its faces, and use a short edge-insertion sequence to slide it into the middle layer. Work through the remaining edges one at a time.
If a middle edge is already in the middle layer but in the wrong position or flipped, you can move it out by inserting a different edge into its spot, then place it correctly. This feels like going backwards, but it is a normal part of the method — you are simply freeing the piece so you can place it properly.
Stage 4: Make the yellow cross
Now only the top (yellow) layer is unsolved. Your next goal is a yellow cross on the top face — the side colours do not matter yet. Depending on what you see, you may have just the yellow centre, an L shape, or a line. A short sequence repeated once or twice will build the cross from any of these patterns. Count the yellow edge pieces, apply the sequence, and check again.
Stage 5: Finish the last layer
The final stage has two jobs: first, turn the yellow corners so the top face becomes solid yellow; then swap the last-layer pieces until every side matches its centre. Work on one job at a time. Orient the corners first, and do not worry if the sides look messy while you do it — they will line up once the corners are oriented and you move to the swapping step.
This is the stage where beginners most often panic, because the cube can look more scrambled halfway through a sequence. Trust the process: as long as you hold the cube in the same orientation and finish the sequence, the pieces return to a better state than before. If you lose track, stop, look at the centres, and re-check which job you are on.
Want a guide for your exact cube?
Scan your cube or enter its colours and follow step-by-step guidance for the position you are actually holding.
What to do when you get stuck
Getting stuck is part of learning, not a sign that you cannot solve the cube. The most common cause is a small orientation error: the cube was turned in your hands halfway through a sequence, or a move was skipped. When that happens, stop and identify your current stage from scratch. Look at the centres, check which layers are complete, and restart from that stage instead of scrambling and starting over.
If you are stuck mid-solve and cannot tell what went wrong, a solver app can help. Scan your cube with the camera or enter the colours manually, and the app shows a valid path forward from your current cube state. Following those moves gets you back on track, and watching how the solution handles your exact position teaches you how the stages connect.
Stuck mid-solve?
Get a valid path forward from your current cube position — scan it or enter the colours manually.
Choosing your first cube
You do not need an expensive speedcube to learn. A standard 3×3 cube with smooth, even turning is enough. It should turn with light finger pressure and not catch or lock up mid-turn. If your cube is very stiff, work it in gently with slow turns before your first solve.
Avoid novelty cubes with unusual shapes, tiny keychain cubes, or cubes with peeling stickers while you are learning. They make the method harder than it needs to be. A plain, well-made 3×3 keeps your attention on the stages, not on fighting the hardware.
How long will your first solve take?
There is no fixed answer, and that is normal. Your first full solve may take a long time, because you are stopping to read the guide, re-checking stages, and learning the sequences. That time is not wasted — it is how the method sinks in. Judge your first sessions by whether you finished, not by the clock. Speed is a separate skill that comes after the method feels automatic.
A simple practice plan
You do not need long practice sessions. Short, regular sessions build muscle memory faster than one long weekend attempt. A simple plan is to practise one stage at a time: spend a session on the white cross only, then a session on corners, and so on. Once each stage feels comfortable on its own, start chaining them into full solves.
- Session 1: white cross only — build it, scramble, repeat.
- Session 2: white cross plus white corners — the full first layer.
- Session 3: first layer plus middle layer edges.
- Session 4: yellow cross and last-layer orientation.
- Session 5 onward: full solves, slowly, then gradually faster.
Keep a solved cube nearby for comparison. When you finish a stage, compare your cube with the solved one side by side. This makes it easier to spot a misplaced piece before it causes trouble in the next stage.
Practising efficiently
Repetition is what turns algorithms into muscle memory. Solve the same stage several times in a row rather than rushing through a full solve. If you get stuck mid-solve, a solver app can show you a valid path forward from your current cube state so you can keep learning instead of resetting.
Turn slowly and deliberately at first. Fast turning hides mistakes: you may perform a move in the wrong direction and not notice until two stages later. Slow turning also helps you watch how each piece moves, which is how the method starts to make sense instead of feeling like memorised magic.
What comes after the beginner method?
Once you can finish solves comfortably with the beginner method, you may want to get faster. Speedcubers typically use a method called CFOP, which solves the cube in four phases: cross, first two layers, orienting the last layer, and permuting the last layer. You do not need to switch all at once — many cubers keep the beginner method for the first layers and learn faster last-layer sequences first.
Whatever you do next, keep the habit that got you here: practise one thing at a time, and enjoy finishing solves. The beginner method is not a stepping stone you outgrow and forget; it is the foundation that makes every faster method make sense.
Solve it with guidance
Follow step-by-step moves for your own cube — scan it with the camera or enter the colours manually.
Frequently asked questions
Here are the questions beginners ask most often about solving a Rubik's Cube.